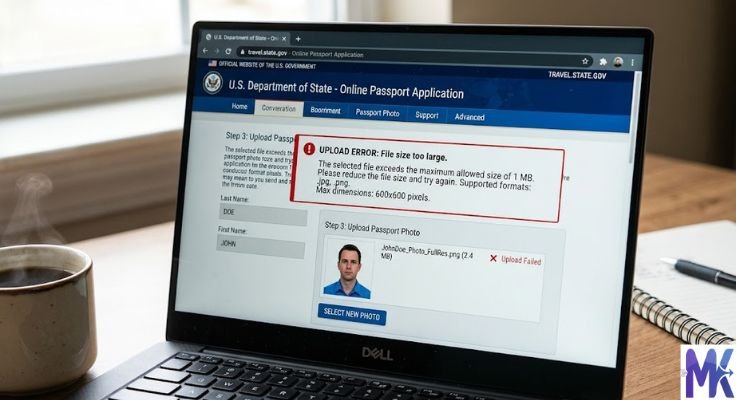
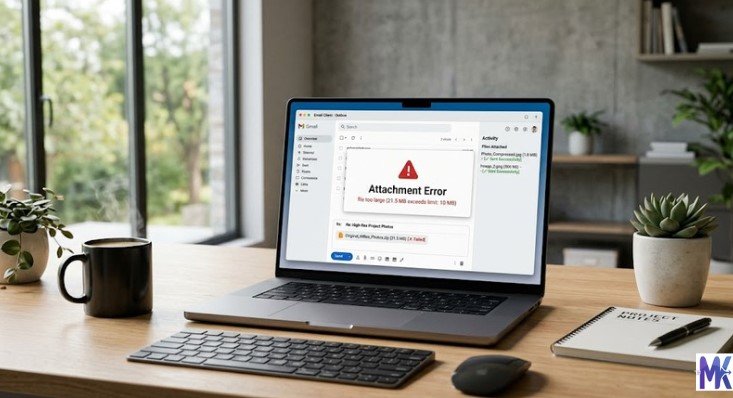
You finally gathered all your documents. Your photo is ready. You open the government portal, click upload and then it says: “File size exceeds the limit.”
Frustrating, right?
This happens to thousands of people every single day. Government forms and official portals are strict about image sizes. They often accept files only under 50KB, 100KB, or 200KB. And most phone or camera photos are many times larger than that.
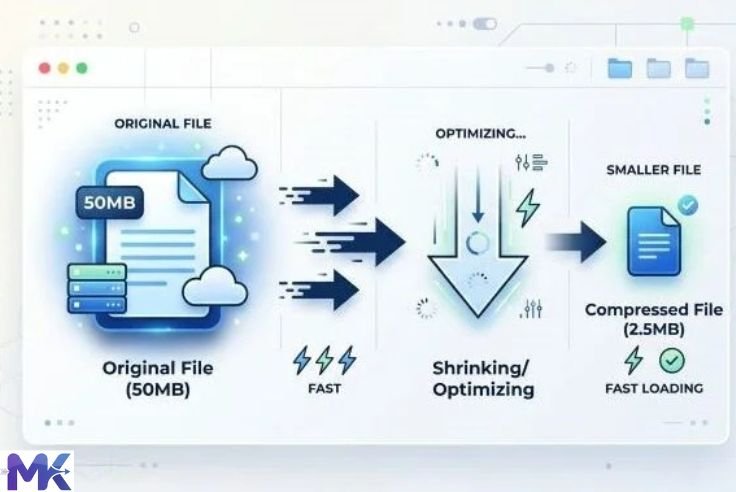
The solution is simple: compress your image before uploading it.
In this guide, you’ll learn exactly how to compress images for government forms what size they need to be, which formats are accepted, why portals have these limits, and how to use a free online tool to get it done in seconds.
No technical skills needed. No software to install. Let’s get started.
Why Do Government Forms Have Image Size Limits?
Before we jump into the how, it helps to understand the why.
Government websites handle millions of applications every day. Every file you upload has to be stored on their servers, processed by their systems, and sometimes reviewed by a person on the other side.
Large image files create three problems for these systems:
Server Storage
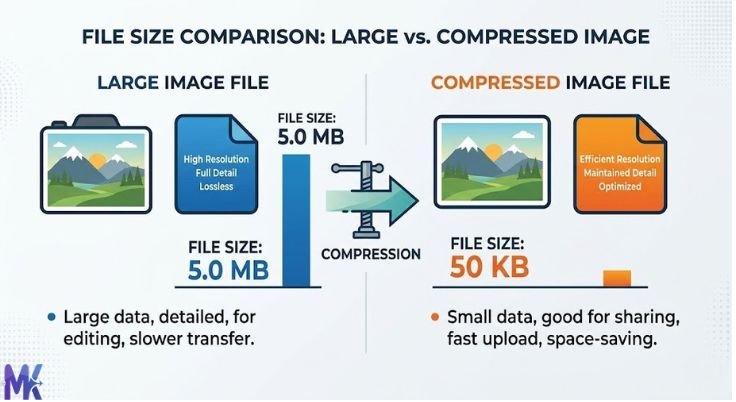
If every applicant uploads a 5MB photo, the storage costs multiply quickly. By limiting image sizes, government portals keep their systems efficient and affordable to maintain.
Slow Processing
Large files take longer to upload, transfer, and open. On busy portals with millions of users, this creates bottlenecks. Smaller files keep everything moving quickly.
Uniform Review
Officials reviewing applications often need to open hundreds of documents per day. Small, standardized files open instantly and display consistently making the review process faster and more reliable.
That’s why they set limits. And that’s why you need to compress your images before submitting.
Common Image Size Limits on Government Forms
Different portals have different rules. But here are the most common size limits you’ll run into:
Passport and Visa Applications
Most passport photo upload portals require images between 20KB and 200KB. Some are even stricter — requiring photos under 50KB.

Job Application Portals (Government Jobs)
Portals like SSC, UPSC, state government recruitment sites, and similar platforms typically require:
– Photograph: 20KB to 50KB (sometimes up to 100KB)
– Signature: 10KB to 30KB
ID and Registration Forms
Portals for driving licenses, voter ID, Aadhaar updates, and similar documents usually accept images between 10KB and 200KB.
Educational and Scholarship Forms
University admission forms and scholarship portals usually allow 50KB to 200KB for photos.
Bank Account and KYC Forms
Online KYC forms typically accept images under 100KB or 200KB.
The rule of thumb: always check the specific portal’s instructions before uploading. Then compress your image to match.
What Type of Images Do Government Forms Usually Ask For?
Government forms typically require two types of images:
Passport-Size Photograph
This is the most common requirement. Most portals ask for:
- A recent, clear, color photograph
- White or light-colored background
- Face clearly visible, no sunglasses
- Format: JPG or JPEG (most common)
- Size: Usually 10KB to 100KB
- Dimensions: Often 200×200 pixels to 600×600 pixels

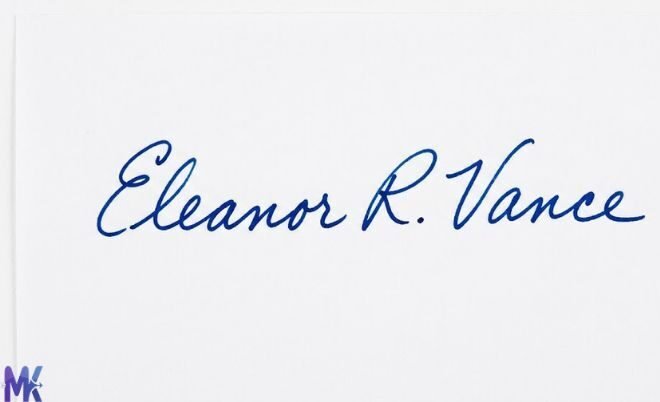
Signature Image
Many portals especially for government job applications also require a scanned signature. Requirements usually include:
- Signed on white paper with black or blue ink
- Scanned or photographed clearly
- Format: JPG or JPEG
- Size: Usually 10KB to 30KB
Supporting Documents
Some forms also ask you to upload scanned copies of:
- Birth certificate
- Mark sheets
- Caste certificate
- Income certificate
- Address proof
These are usually accepted in JPG or PDF format, with size limits between 100KB and 500KB.
What Happens If You Upload the Wrong Size?
People often make one of two mistakes:
Too Large: The portal rejects the file outright. You get an error message and can’t proceed with the application. In some cases, repeated failed attempts can temporarily lock your account or submission.
Too Small or Over-compressed: If you compress the image too aggressively, the photo becomes blurry and unrecognizable. Government officials may reject your application because the face in the photo isn’t clear enough.
The goal is to hit the sweet spot small enough to pass the size limit, but clear enough to be accepted.
That’s exactly what a good compression tool does for you.
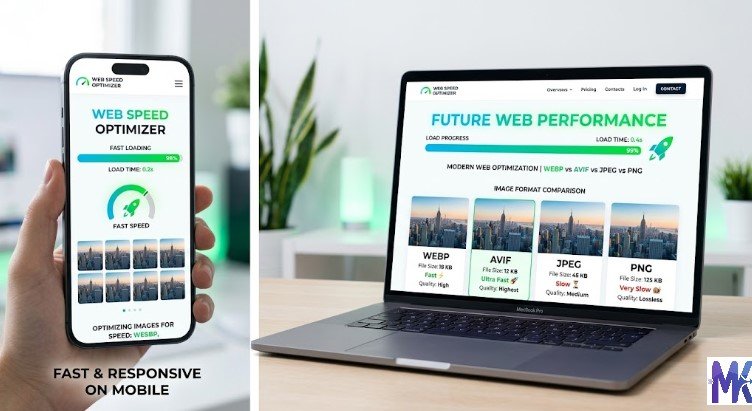
Which Image Format Should You Use for Government Forms?
This is a question many people get wrong. Let’s clear it up.
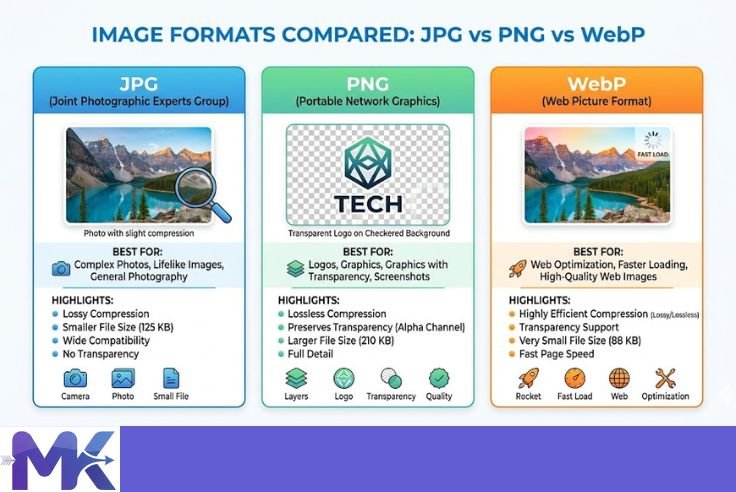
JPG / JPEG — The Standard Choice
Almost every government portal in the world accepts JPG format. It’s the safest and most widely supported option.
JPG uses lossy compression, which means it reduces file size by removing tiny details the human eye can’t easily see. For a passport photo or signature, this works perfectly the image stays clear and the file gets small.
Always use JPG unless the portal specifically asks for something else.
PNG — Use Only If Required
PNG files are larger than JPG files for the same image. Most government portals don’t require PNG, and uploading a PNG photo might even exceed the size limit because of its larger file size.
Only use PNG if the portal explicitly asks for it.
PDF — For Documents, Not Photos
Scanned certificates and documents are usually submitted as PDF files. However, your photograph and signature should almost always be in JPG format, not PDF.
WebP — Usually Not Accepted
WebP is a modern format that’s excellent for websites, but most government portals don’t support it yet. Stick to JPG for government form submissions.
Bottom line: Use JPG for your photo and signature. Use PDF for documents. Always check the portal’s specific instructions.
How to Check Your Image Size Before Uploading
Before compressing anything, you need to know your current image size. Here’s how to check it on different devices:
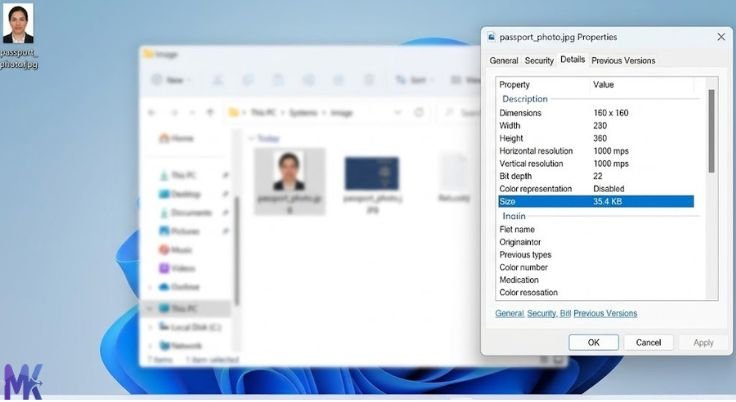
On Windows
Right-click the image file → click “Properties” → go to the “General” tab → look at the “Size” field. It will show the file size in KB or MB.
On Mac
Right-click the image → click “Get Info” → look at the “Size” field under “General.”
On Android
Open your Gallery → tap the photo → tap the three dots (menu) → tap “Details” or “Info.” The file size is listed there.
On iPhone
Open the Photos app → tap the photo → swipe up. The file size is shown under “Metadata” (you may need a third-party app like “Photos Info” for this).
Once you know the current size, you’ll know exactly how much you need to compress.
Step-by-Step — How to Compress Images for Government Forms
Now let’s walk through the actual process. This works for passport photos, signature images, and any other image a government portal might require.
Step 1 — Take or Scan Your Image
For a passport photo:
Use a good phone camera. Stand in front of a plain white wall. Make sure the lighting is bright and even. Take the photo straight on no tilting.
For a signature:
Sign your name clearly on plain white paper using a black or blue pen. Then photograph it with your phone camera from directly above. Make sure the image is sharp and not blurry.
For scanned documents:
Use a scanning app like Adobe Scan, Microsoft Lens, or CamScanner to get a clean, clear scan of the document.
Step 2 — Check the Portal’s Requirements
Before compressing, read the specific requirements of the portal you’re applying to. Note:
- – Accepted file format (JPG, PNG, PDF)
- – Maximum file size (e.g., 50KB, 100KB)
- – Image dimensions (e.g., 200×200 pixels, 3.5cm × 4.5cm)
This tells you exactly what size to compress to.
H3: Step 3 — Open the Compression Tool
Go to mbtokb.site in your browser. No sign-up needed. No software to install. The tool works on any device phone, tablet, or computer.
Step 4 — Upload Your Image
Click the upload button and select your photo or signature image. You can upload multiple images at once . for example, your photo and signature at the same time and compress them all together.

Step 5 — Choose Your Target Size
Option A — Custom Size:
If the portal requires a specific size, like 50KB or 80KB, type that number into the custom size field. The tool will compress your image to match that size as closely as possible.

Option B — Fixed Size:
If you just need a quick compression without entering numbers, choose from the ready-made options:
- Compress to 10KB
- Compress to 50KB
- Compress to 100KB
- Compress to 150KB
- Compress to 200KB
- Compress to 250KB
- Compress to 300KB
- Compress to 350KB
For most government forms, compressing to 50KB or 100KB covers the majority of cases.
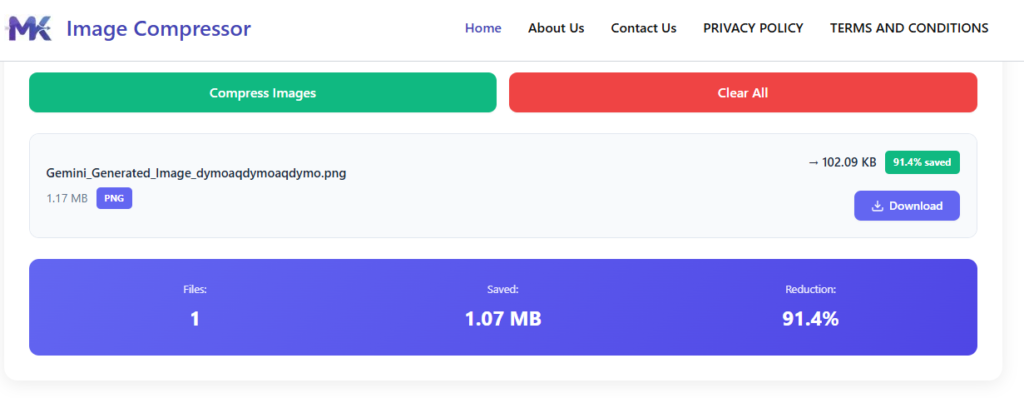
Step 6 — Compress and Download
Click the Compress button. The tool processes your image in seconds.
Once done, download each compressed image individually with one click or download all images together in bulk. Your image is now ready to upload to the government portal.
Step 7 — Check the Result
Before uploading, open the compressed image and take a quick look. Make sure:
- – The face is clearly visible (for photos)
- – The signature is readable
- – The image isn’t too dark or blurry
If it looks good upload it. If it looks too blurry, go back and compress to a slightly higher size (like 100KB instead of 50KB).
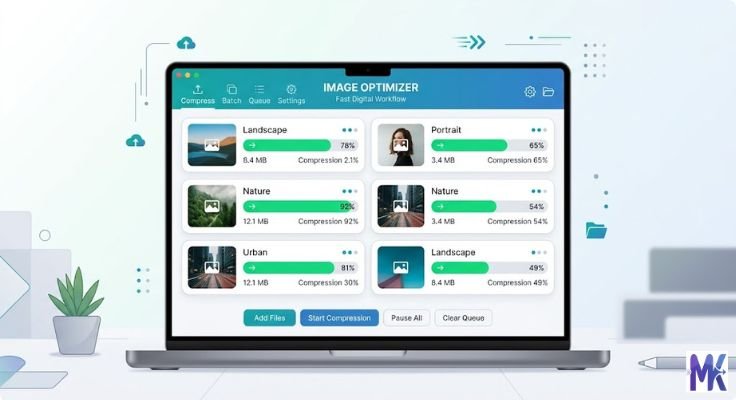
Bulk Compression — Compress Multiple Images at Once
Here’s something most people don’t realize: you can compress all your government form images at the same time.
At mbtokb.site, you can upload multiple images in one go your passport photo, your signature, and even scanned document images and compress them all with a single click.
This is especially useful when:
- You’re filling out a form that requires 3–5 different image uploads
- You’re helping a family member or friend fill out their application too
- You’re submitting applications to multiple portals at the same time
Instead of compressing images one at a time, bulk compression gets everything done in one shot. Upload all your images, set the target size, compress, and download. Simple.
Specific Government Portals and Their Requirements
Let’s look at some real examples so you know exactly what to expect.
Passport Application (India — Passport Seva Portal)
Photo requirements:
Format: JPG
Size: 10KB to 100KB
Dimensions: Minimum 200×200 pixels
Background: White
Tip: Compress your photo to around 50KB–80KB to safely stay within the limit while maintaining clear quality.
Government Job Applications (SSC, UPSC, State PSCs)
These portals are among the strictest. Typical requirements:
- Photo: JPG, 20KB to 50KB
- Signature: JPG, 10KB to 20KB
- Dimensions vary by portal
Tip: Always read the official notification carefully. Some portals specify exact dimensions (like 200×230 pixels for photo, 140×60 pixels for signature). Resize first, then compress.
Voter ID / EPIC Updates (NVSP Portal)
Photo requirements:
– Format: JPG
– Size: Under 2MB (this one is more relaxed)
– Clear face photo required
Tip: Even if the limit is 2MB, it’s good practice to compress to under 200KB for faster uploads.
Bank KYC and Account Opening (Online)
Most banks allow:
– Photo: JPG or PNG, under 100KB to 500KB
– Identity documents: PDF or JPG, under 1MB to 2MB
Tip: Compress photos to 100KB and documents to under 500KB for hassle-free submission.
Scholarship and University Admission Portals
Requirements vary widely, but a common standard is:
– Photo: JPG, 50KB to 200KB
– Signature: JPG, 20KB to 50KB
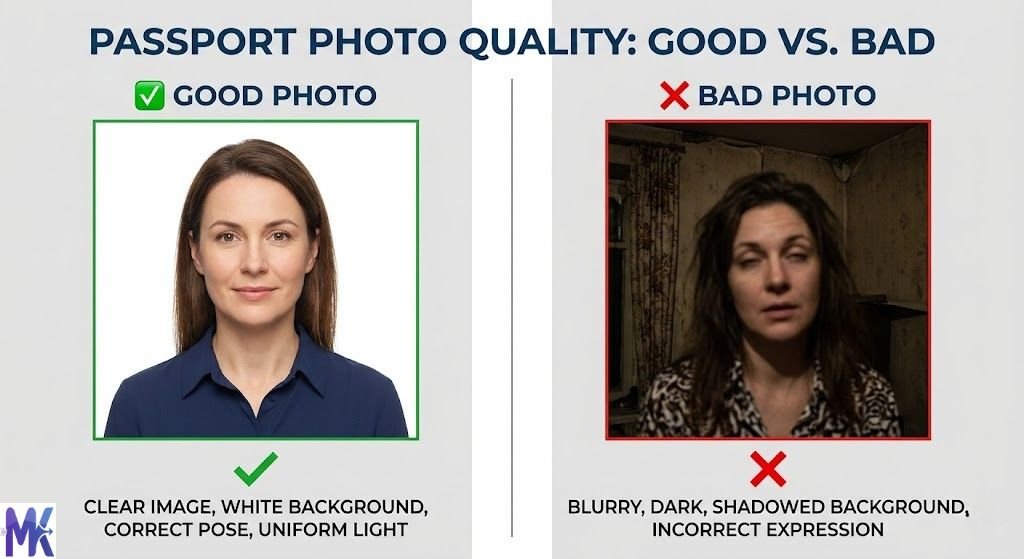
Tips for a Perfect Government Form Photo
Compression is only half the story. The actual quality of the photo matters too. Here are some quick tips to get a clean, accepted photo every time.
Use Good Lighting
Take your photo near a window during the day. Natural light is the most flattering and produces the clearest images. Avoid dim lighting or harsh overhead bulbs.
Plain White Background
Most government portals specifically require a white or off-white background. Stand in front of a plain wall, or use a white bedsheet as a backdrop.
Look Straight at the Camera
Your face should be centered, looking directly at the camera lens. No tilting your head, no sunglasses, no hats.
Take Multiple Shots
Take 4–5 photos and pick the clearest one. Don’t just use the first photo you took.
Use the Rear Camera
The rear camera on a smartphone is almost always higher quality than the front (selfie) camera. Ask someone to take your photo rather than taking a selfie.
Crop Before Compressing
Many photo apps let you crop your image to the right proportions before you save it. Crop first, then compress. This avoids compressing extra background you don’t need.
What to Do If Your Image Is Still Rejected
Even after compressing, some portals reject images for reasons other than file size. Here’s how to troubleshoot:
Wrong Format
Double-check that you’re uploading JPG, not PNG or WebP. Some portals are very strict about format.
Wrong Dimensions
The portal might require a specific pixel size, not just a file size. For example, 200×200 pixels. Use a free image resizing tool to adjust dimensions first, then compress.
Image Too Blurry
If you compressed too aggressively, the photo becomes blurry. Compress to a slightly higher size try 80KB or 100KB instead of 20KB.
File Name Issues
Some portals don’t accept special characters in file names. Rename your file to something simple like “photo.jpg” or “signature.jpg” before uploading.
Browser Issues
Sometimes the problem isn’t your image it’s the browser. Try switching to Google Chrome or Mozilla Firefox, and make sure you’re using the latest version.
Still rejected? Try compressing to a slightly larger size and re-uploading. Most portals have a small margin of flexibility.
Frequently Asked Questions
For most Indian and international government portals, a photo between 20KB and 100KB works best. When in doubt, aim for 50KB it’s small enough to pass most limits and large enough to stay clear.
Yes. mbtokb.site works on any device including Android and iPhone. Just open the website in your phone’s browser, upload your image, compress it, and download. No app needed.
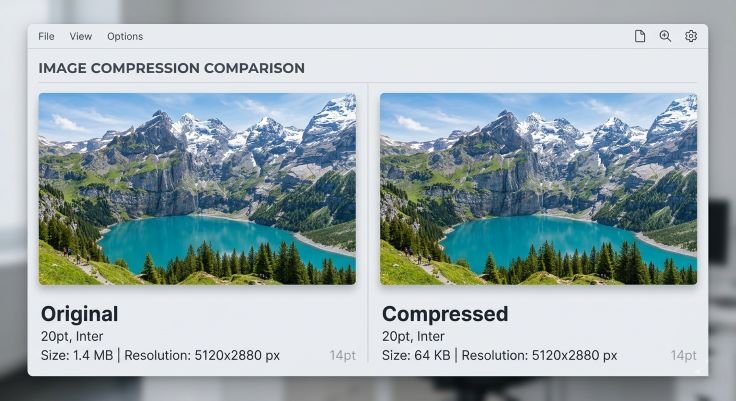
A good compression tool preserves visual quality while reducing file size. If you compress to a reasonable size (like 50KB for a standard passport photo), the image will look perfectly clear to the human eye. Only extreme compression to very small sizes (like 5KB) will noticeably affect quality.
At mbtokb.site, your images are processed entirely in your browser. They are never uploaded to any server or stored anywhere. Your files stay on your own device at all times. It’s completely private and safe.
Yes. mbtokb.site supports bulk compression. You can upload your passport photo, signature, and any other images at the same time and compress them all together with one click.
If the portal asks for a PDF (usually for documents, not photos), you’ll need to use a separate PDF conversion tool. For photographs and signatures, always use JPG format.
Conclusion
Filling out government forms is stressful enough without having to deal with file size errors. But now you know exactly what to do.
Check the portal’s requirements. Take a clear photo or scan. Compress your image to the right size. Upload and submit.
It’s a simple process and the right tool makes it even easier. mbtokb.site lets you compress images for government forms in seconds, completely free. Upload multiple images at once, choose your target size whether it’s 20KB, 50KB, or 100KB and download your compressed files individually or download all images together in bulk.
No sign-up. No software. No hassle. Everything works right in your browser, and your images never leave your device.
Next time a government portal throws a size limit at you, you’ll know exactly how to handle it